Reset Your Money in 30 Days
Spring Financial Cleaning Checklist
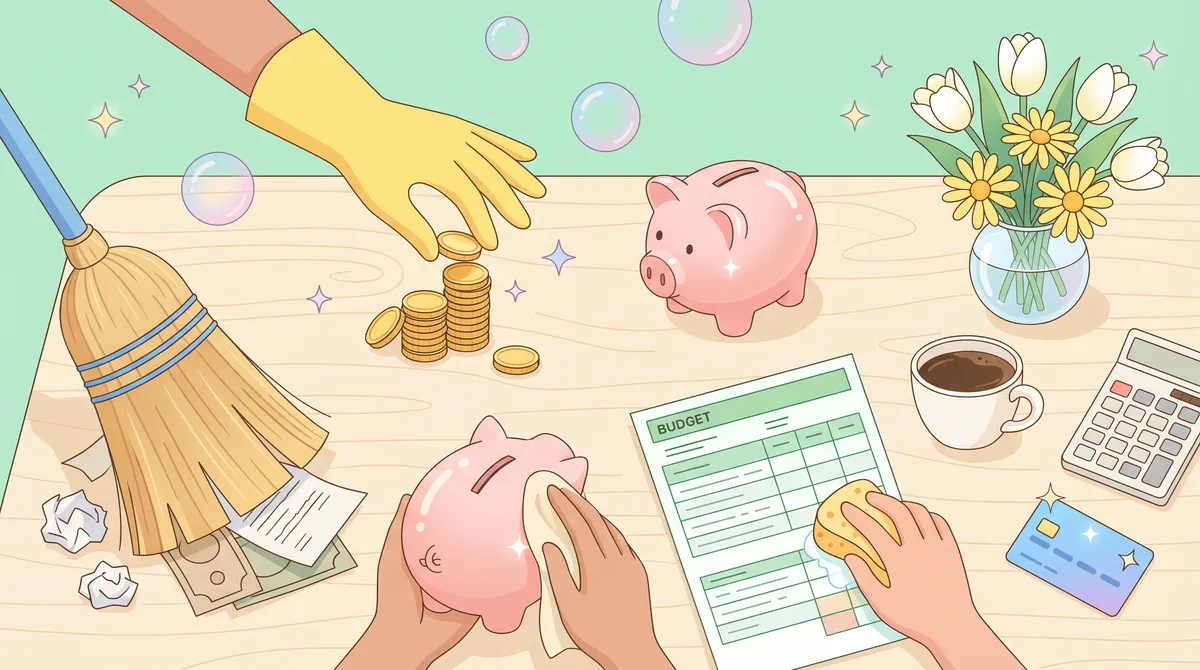
Spring is a natural time to clear out what isn’t working and make room for better habits—and your money deserves the same kind of reset.
You don’t need to overhaul your entire financial life to feel a difference. With a simple, four‑week checklist, you can cut waste, get organized, and set up systems that make the rest of the year smoother and less stressful.
This 30‑day plan breaks your “financial spring cleaning” into weekly focus areas:
- Week 1: Cancel unused services and trim the easy stuff
- Week 2: Review your insurance and key protections
- Week 3: Check your credit reports and fix errors
- Week 4: Organize documents and build a simple money routine
Pick a start date, and work the list at your own pace.
Week 1: Cancel unused services and cut the easy waste
The fastest way to free up money for debt and savings is to stop paying for things you don’t actually use or value.
Step 1: Pull 1–3 months of statements
- Log in to your bank and credit card accounts.
- Download or open the last one to three months of statements.
- Highlight anything recurring: subscriptions, memberships, apps, streaming, software, “free trial” that became a bill.
Look for charges that are small but steady—these are the quiet budget leaks.
Step 2: Sort into “keep,” “question,” and “cancel”
For each recurring charge, ask:
- Do I still use this regularly?
- Would I notice if it disappeared?
- Is it helping me reach any current goal?
Then sort each item into:
- Keep: You use it, and it genuinely adds value.
- Question: You’re not sure you need it, or you rarely use it.
- Cancel: You don’t use it, or it doesn’t matter to you anymore.
Step 3: Cancel or downgrade
For anything in “cancel” or “question”:
- Visit the company’s website or app and look for “Billing,” “Account,” or “Subscription” to find the cancel link.
- If there’s a cheaper tier (for example, fewer screens, less storage, or ad‑supported), consider downgrading instead of fully canceling.
- Take screenshots or save confirmation emails so you know the cancellation went through.
Make a quick note of how much you’ve just freed up per month. That amount becomes potential extra money for debt payments or savings.
Week 2: Review your insurance and protections
Insurance can feel boring, but it’s one of the main tools that protects you from big money shocks that could push you deeper into debt.
This week, you’ll review what you already have—not necessarily buy new coverage.
Step 1: Gather your policies
Collect basic info on:
- Auto insurance
- Renters or homeowners insurance
- Health insurance
- Any life or disability insurance you already have
You don’t need the full legal documents yet—just the most recent summary or declarations page.
Step 2: Check for obvious gaps or overlaps
Ask yourself:
- If something big happened (accident, fire, major illness), would I know which policy helps and how much I’d still owe?
- Am I paying for duplicate coverage through work and separate policies?
- Am I missing basic coverage (for example, no renters policy even though I own valuable items or electronics)?
If something doesn’t make sense, jot it down as a question to follow up on.
Step 3: Compare costs and coverage (optional but helpful)
If it’s been more than a year since you looked at your premiums:
- Get a few quotes online to see if your rates are still reasonable.
- Check your deductibles: higher deductibles usually mean lower monthly costs, but only make sense if you can afford that deductible in an emergency.
You don’t need to change anything right away. The goal this week is to understand what you have and whether it matches your current reality.
Week 3: Check your credit reports and fix errors
Your credit reports are like report cards that many lenders, landlords, and sometimes employers look at. Errors or outdated information can cost you money in higher interest rates or make it harder to get approved.
You’re allowed free access to your reports—use it.
Step 1: Get your credit reports from all three bureaus
- Go to the official site that provides free credit reports (not a look‑alike or ad).
- Request your reports from Equifax, Experian, and TransUnion.
- Save or print copies so you can review them slowly.
You don’t need to pay for scores to do this step—the reports themselves are the priority.
Step 2: Review your reports line by line
For each report, check:
- Personal information: Name(s), addresses, and Social Security number variations.
- Accounts: Are all the listed accounts actually yours? Are any missing?
- Payment history: Are there reported late payments you believe are incorrect?
- Balances and status: Do the amounts, limits, and whether the account is open/closed look right?
Make a list of anything that looks wrong, confusing, or suspicious.
Step 3: Dispute clear errors
If you find something that truly seems wrong (for example, an account you never opened, or a payment marked late when you have records showing on‑time payment):
- Check the dispute instructions given by the bureau that issued the report.
- Submit a dispute online or by mail, explaining what you believe is wrong and including copies (not originals) of any proof you have.
- Keep copies of everything you send and note the dates—you’ll usually get a response within about a month.
Fixing errors won’t solve everything overnight, but it can protect your reputation as a borrower and sometimes raise your score over time.
Week 4: Organize documents and create a simple money routine
The final week is about making your financial life easier to manage going forward. Organization and a basic routine reduce stress and help you catch problems early.
Step 1: Create a “home” for your money documents
Pick one place—physical or digital—where financial documents will live.
You might use:
- A single folder or binder for paper documents
- A secure cloud folder with clearly labeled subfolders (Taxes, Loans, Insurance, etc.)
Gather and file:
- Tax returns and important tax forms
- Loan and credit card statements (or at least your account info)
- Insurance documents
- Pay stubs or proof of income
- Any agreements related to payment plans
You don’t need to go back forever; start with the last year or two.
Step 2: Make a one‑page “money map”
Create a simple reference you can pull up quickly:
- List your main accounts (bank, credit cards, loans) and what each is for
- Note due dates for key bills
- Include where to log in or call if you need help
You don’t have to write down passwords—just enough detail so you’re not hunting through old emails when something comes up.
Step 3: Build a monthly “money check‑in” routine
A routine doesn’t have to be complicated. Aim for 30–60 minutes once a month to:
- Glance at your accounts and make sure everything looks right
- Confirm upcoming due dates and payments
- Check your progress: balances going down, savings going up
- Decide on one small focus for the next month (for example, “no new subscriptions,” “an extra $25 toward my highest‑interest debt,” or “catch up one bill”)
Put your money check‑in on your calendar like any other important appointment. The goal is to make money something you check on regularly, not something you only face in a crisis.
How to make your 30‑day reset stick
By the end of these four weeks, you’ll have:
- Fewer unnecessary charges
- Better awareness of your protections and risks
- Clean, up‑to‑date credit reports (or disputes in progress)
- Organized documents and a basic money routine
You don’t have to be perfect to make progress. Even if you only complete part of this checklist, you’re still moving toward a more manageable, less stressful financial life. Focus on one week at a time, one small action at a time—and give yourself credit for every step you take.